App Jobs User Guide
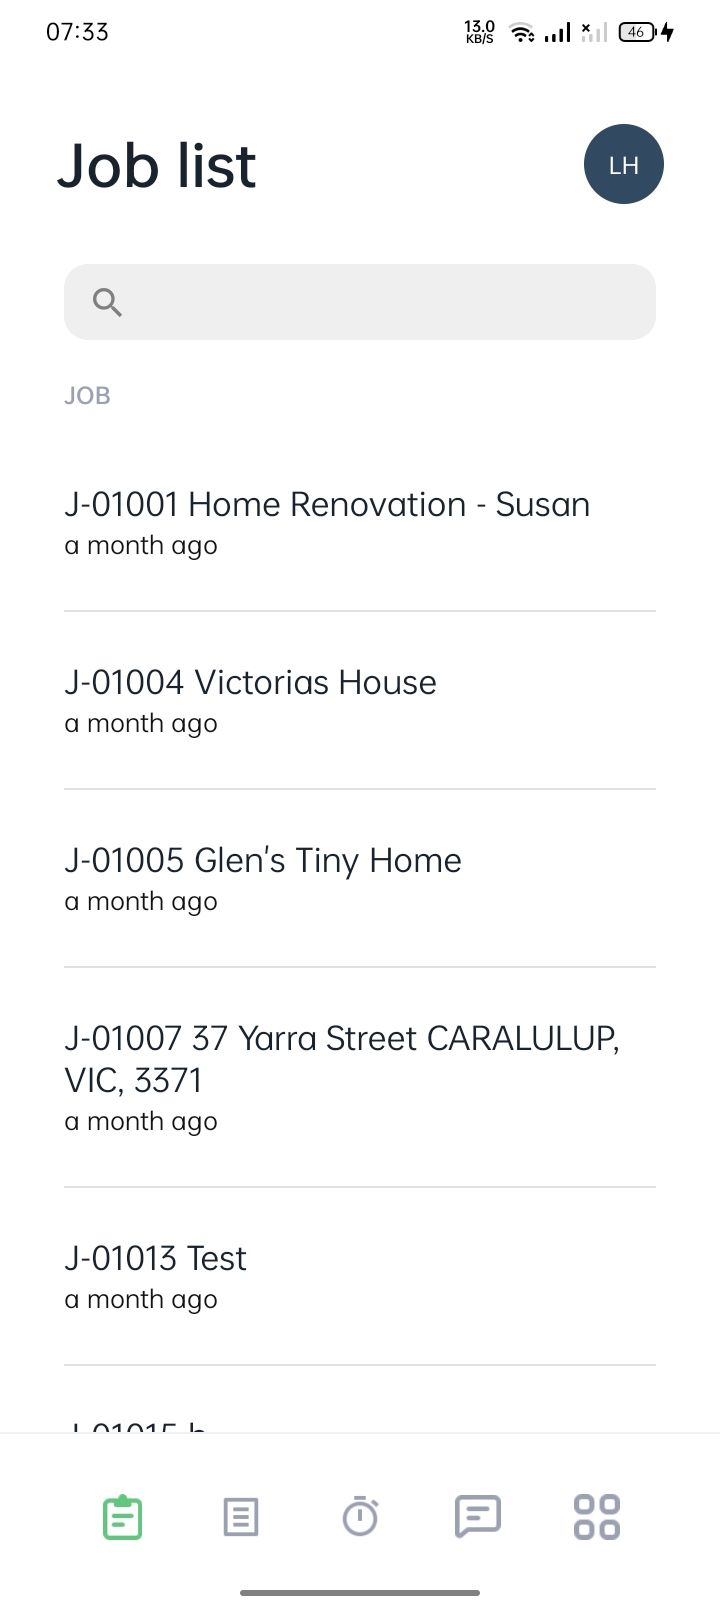
1. Accessing the Job List: Navigate to the Job List tab tab by clicking on the clipboard icon in the bottom left corner.
2. Navigating the Job List section:
- Use the search bar to search your desired job in Wunderbuild.
- Click on the job name to access the job’s contents.
3. Job Overview: View the job details such as address, start and end dates, and customer information. Swap to This week’s tasks to check upcoming tasks for this job.

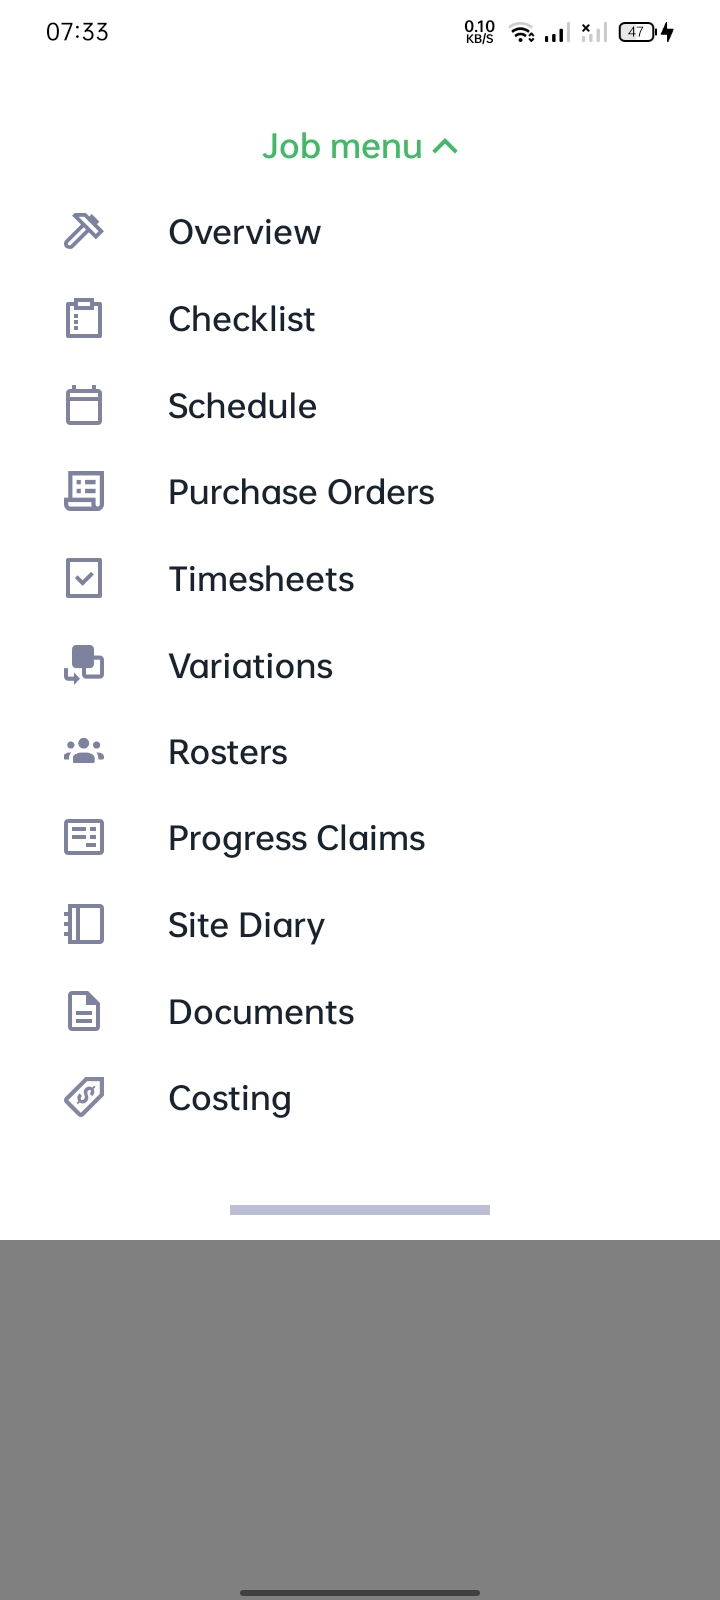
4. Job Menu: Click on the drop down menu to view all the job’s subtabs.
5. Checklists:
- Import a checklist from your templates by clicking “Import”.
- Mark your current checklist as completed by clicking the circle.
- Create a new checklist by clicking “Create Checklist”.

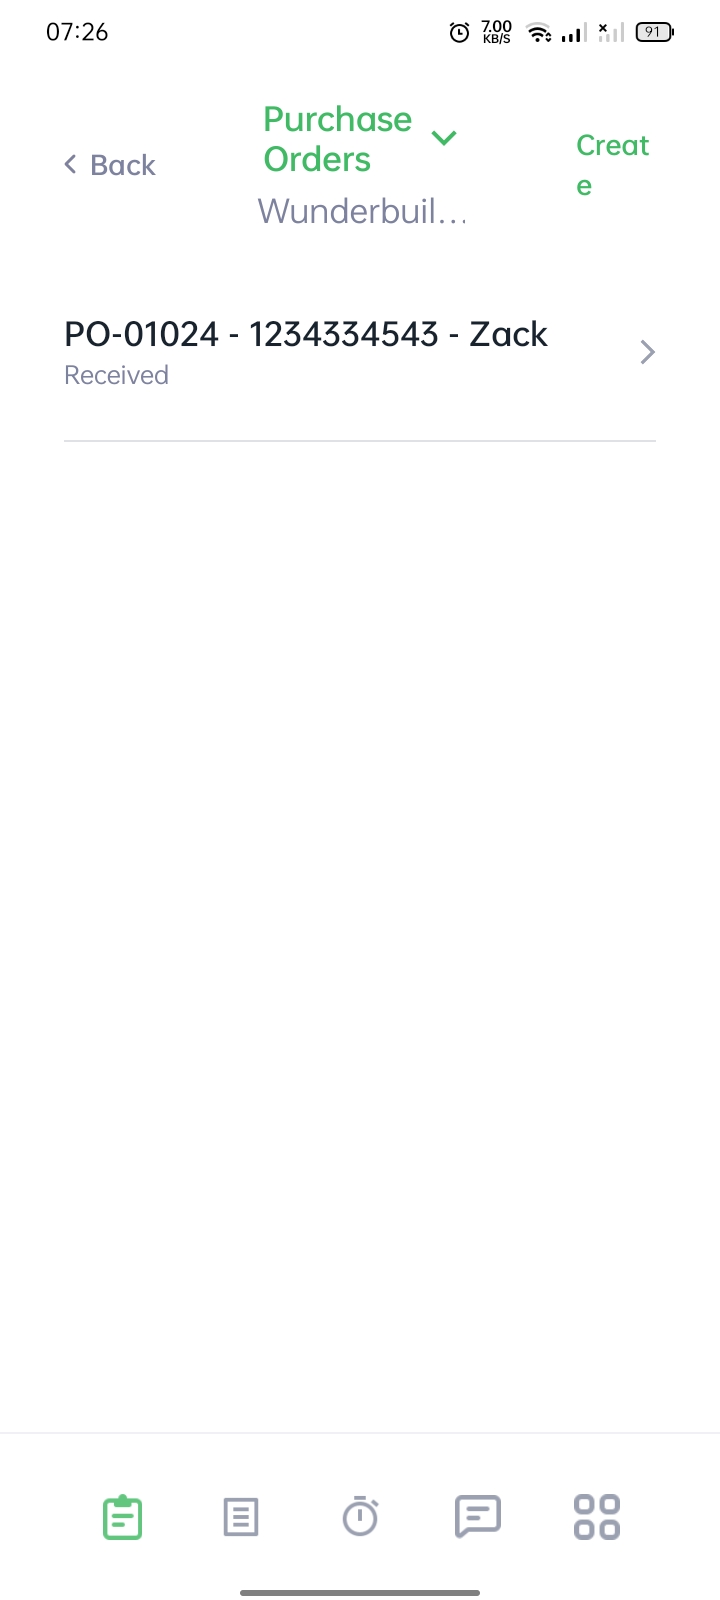
6. Purchase Orders:
- Create a new purchase order for this job by clicking “Create”.
- View the old purchase order by clicking on the purchase order.
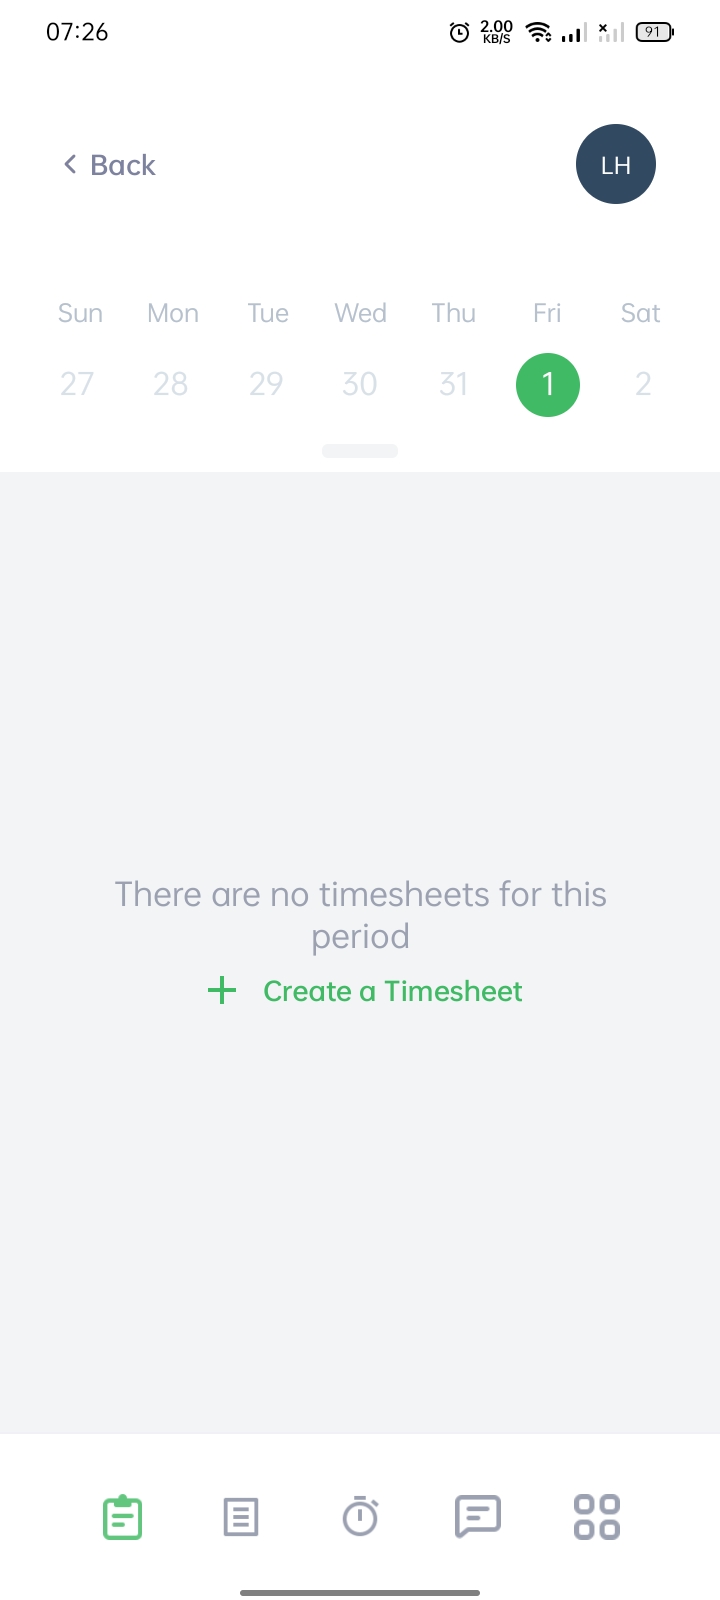
7. Timesheets:
- Create a new timesheet by clicking on “+ Create a new timesheet”. Make sure to select the proper job and cost category.
- If you are an administrator, you may process submitted timesheets in this category as well.
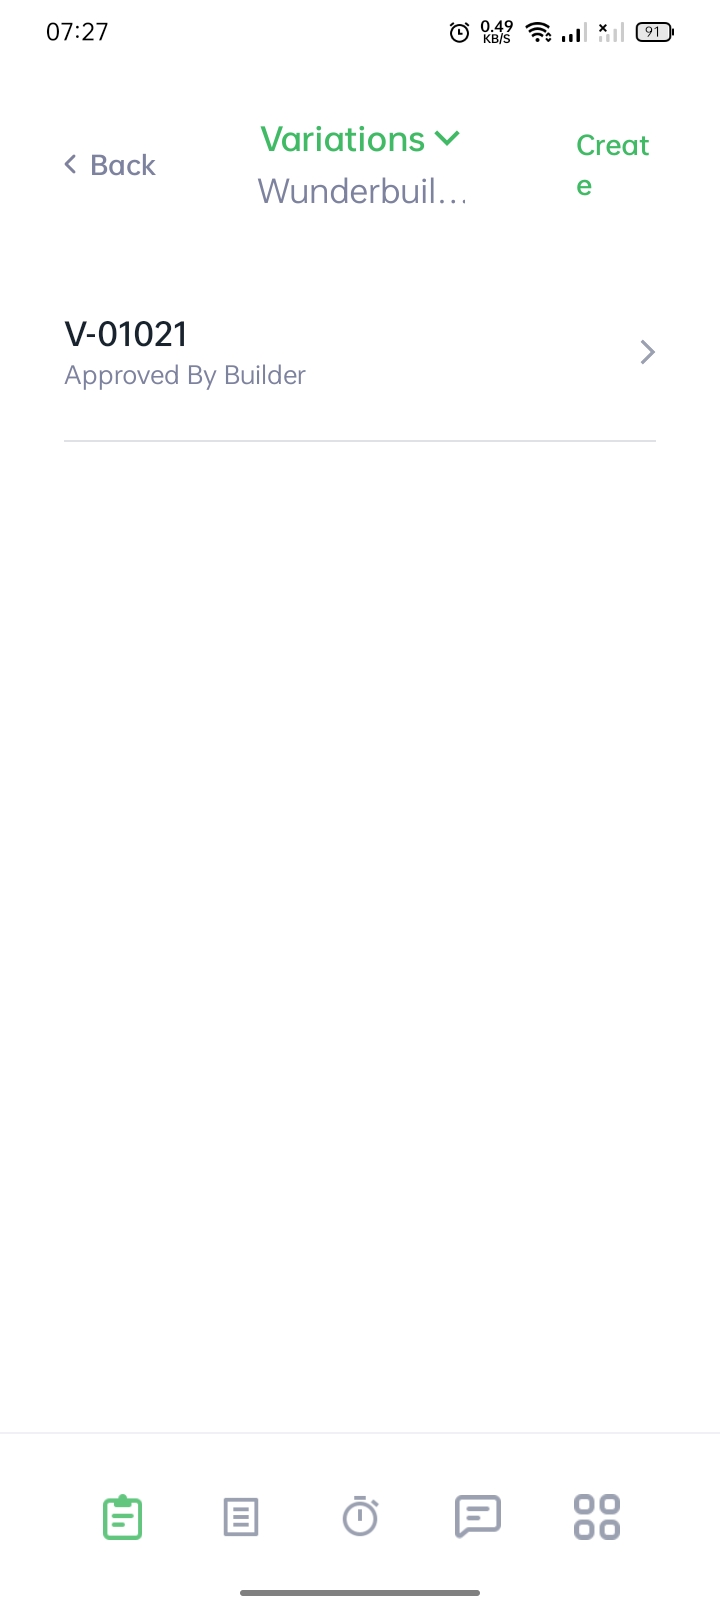
8. Variations:
- Create a new variation by clicking on the “Create” button. You may allocate a variation to a current cost category.
- After creating a new variation, you may click on the variation to view its details.
- Click on the three dots to either print, send, approve, edit or delete the variation.
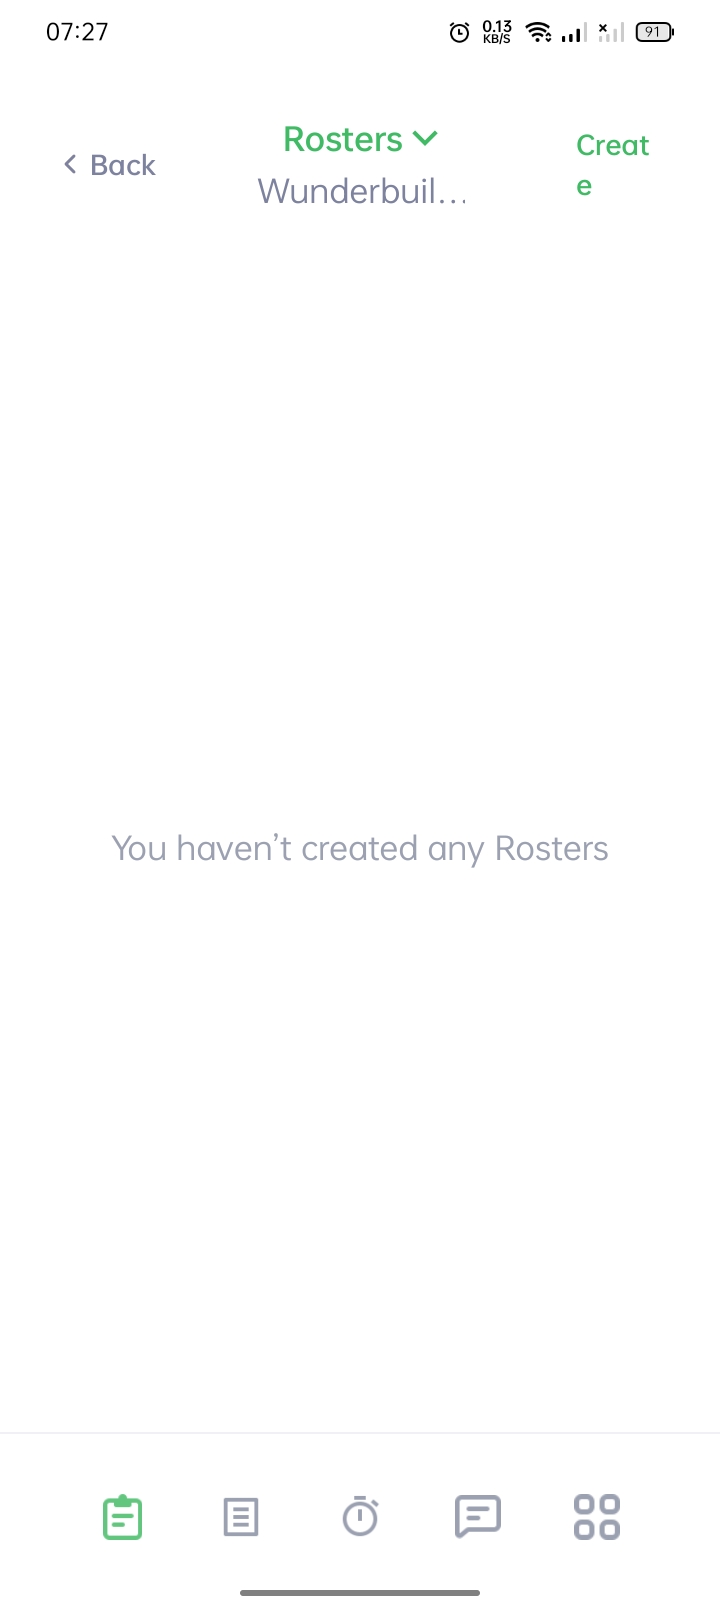
9. Rosters:
- Create a new roster by clicking on the “Create” button.
- Once a new roster, you may click on the roster to view its details.
- Click on the three dots to either print, send, approve, or delete the roster.
10. Progress Claims:
- Click on a progress claim to view or edit the claim.
- Click the three dots on the claim to either print, receive, send, or delete a progress claim.

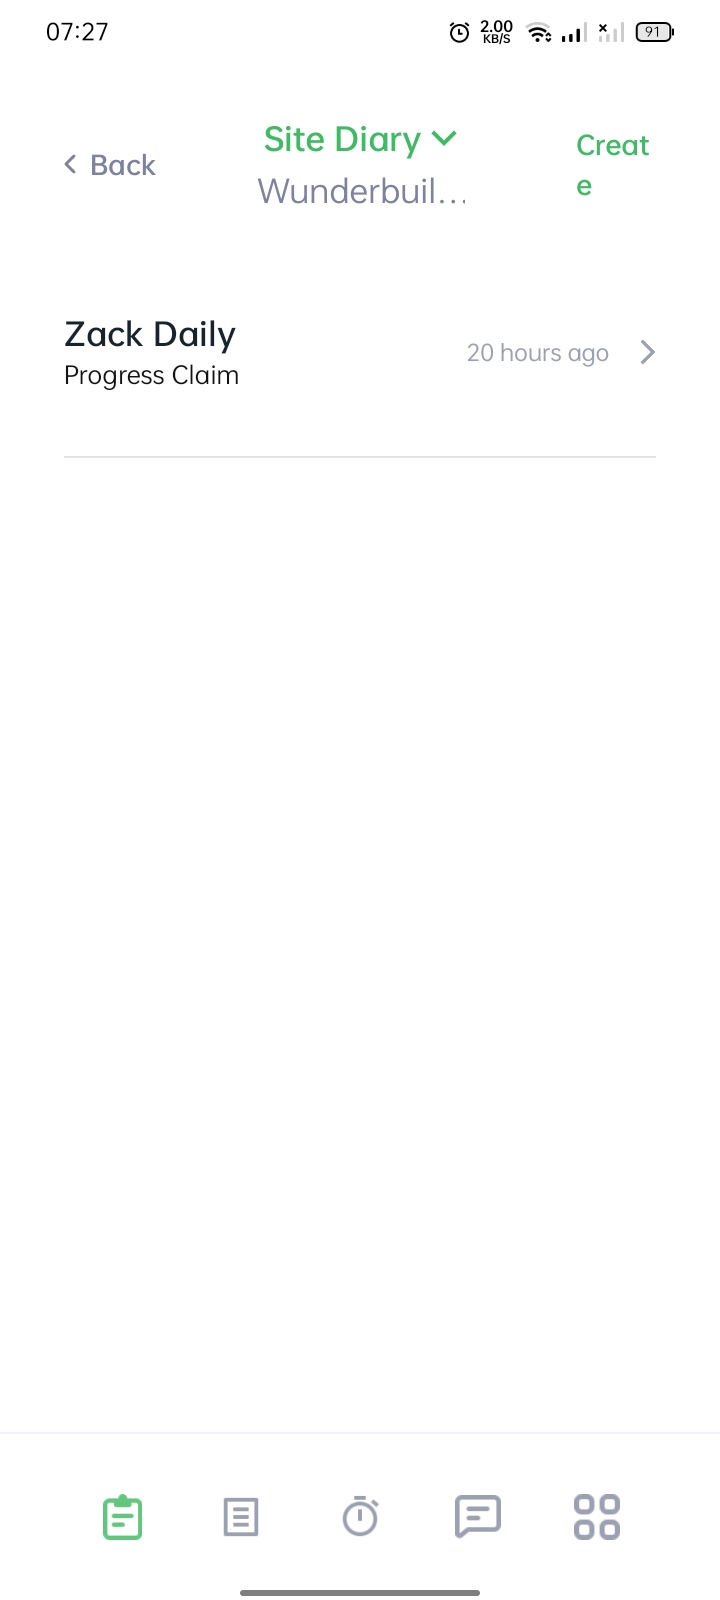
11. Site Diary:
- Create a new site diary by clicking on the “Create” button. You may select a template that will fit your site diary entry.
- Click on the site-diary entries to view its details.
- Click on the three dots to either share the site diary with the client or edit it.
12.
Documents:
- Click the folder with the plus icon to create a new folder.
- Click on the cloud icon to upload files.
- Click on the three dots beside the folder to rename or delete the folder.
- Click on the three dots beside the file to rename, download, or delete the file.

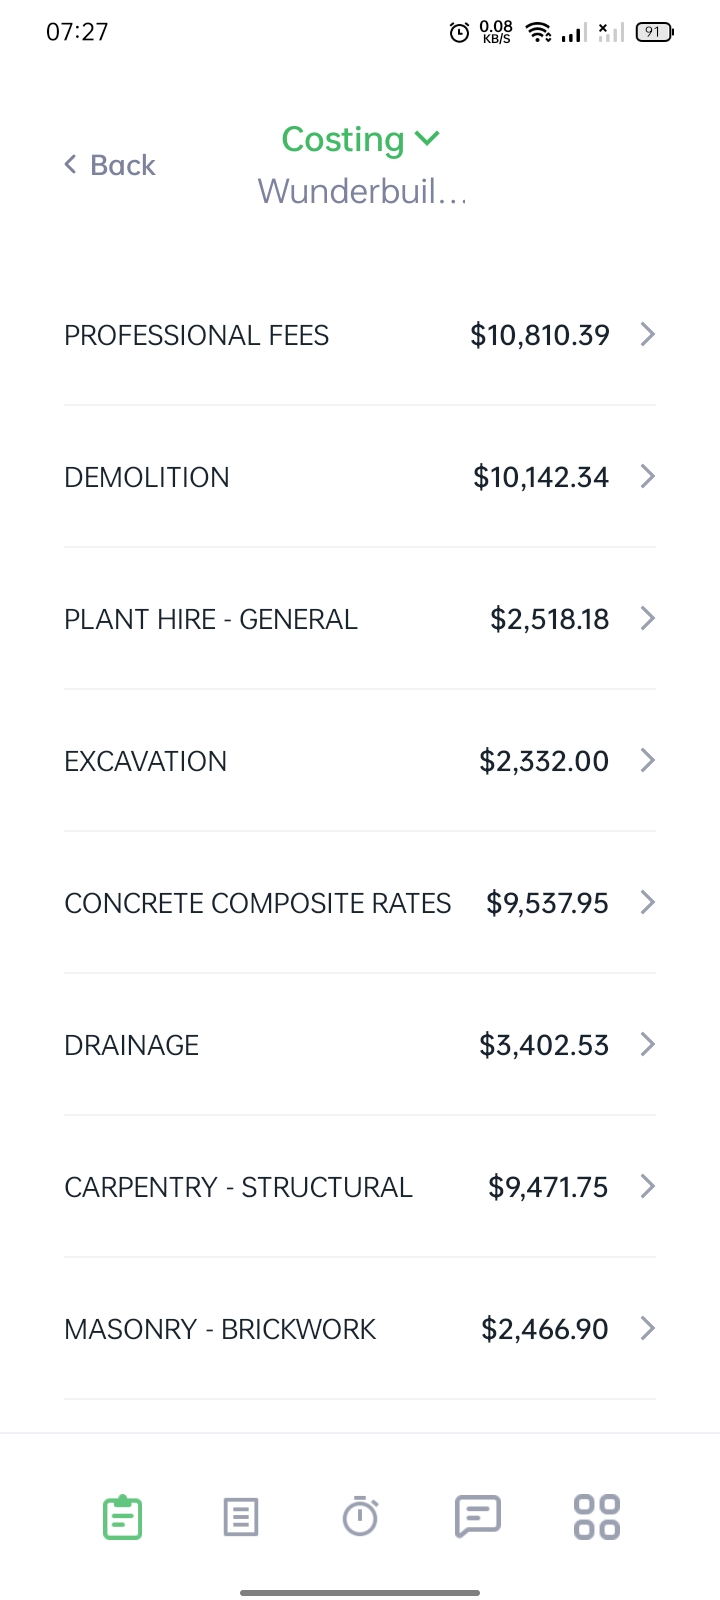
13. Costing
- View the costing for this job.
- Click on the arrows to expand or hide the category and costs.
Related Articles
Client App User Guide
1. Invitation to Wunderbuild: Once you are invited to the software you will receive a Wunderbuild invitation with your login credentials. Please use them to login in the application. You may download the Wunderbuild App in the Apple App Store / ...Job Management User Guide
Managing All Existing Jobs 1. Accessing the Jobs Management Tab: Navigate to the Jobs Management tab on the main menu to view the visual board of all the jobs. 2. Accessing and modifying a Job: Click the job title to access that specific job. Click ...App Profile user Guide
1. Accessing My Profile: Navigate to My Profile by clicking on the four boxes icon on the bottom right of your screen. Select My Profile. 2. Click on Edit Profile to edit your profile such as profile picture, email address, and name. 3. Scroll down ...App Contacts User Guide
1. Accessing the Contacts : Navigate to Contacts by clicking on the four boxes icon on the bottom right of your screen. Select Contacts. 2. Create a new contact by clicking on the “+” icon beside the search bar. 3. Search for a contact by using the ...App Tasks User Guide
1. Accessing the Task List: Navigate to the Task List tab tab by clicking on the list icon beside the clipboard in the bottom left corner of your screen. 2. Create a new task by clicking on the “Create” button. 3. Filter your tasks by clicking the ...