Settings User Guide
1. Accessing the Billing Tab:
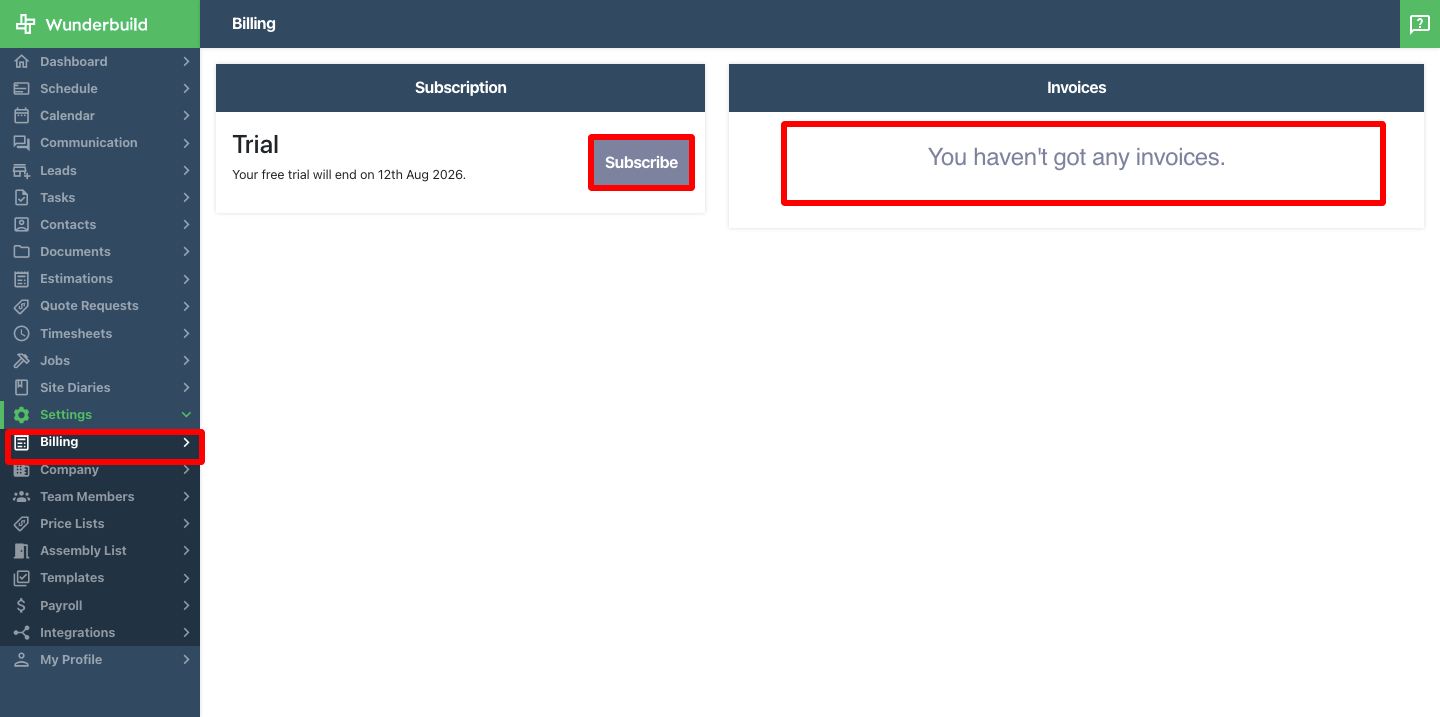
Navigate to the Billing tab by clicking on Billing in the Settings subtab.
- Subscription Category: You may change your subscription type in Wunderbuild by going to this area.
- Invoices: You will receive your Wunderbuild invoice in this area.
2. Accessing the Company Tab:
Navigate to the Company tab by clicking on Company in the Settings subtab.
- Company Details: You may edit your company information in this area by clicking on the “Edit” button
- Invoice Settings: you may edit your Invoice Settings in this area by clicking on the “Edit” button.
- Purchase Order settings: you may edit your Purchase Order Terms in this area by clicking on the “Edit” button.

3. Accessing the Team Members Tab:
Navigate to the Team Members tab by clicking on Team Members in the Settings subtab.
- Editing a team member’s details and role. Click on the three dots beside the team member’s name
- Click on “Edit” to edit the team member’s detail such as member information, role, and hourly rate.
- Click on Delete, to delete the team member. - Adding a new team member: Click on “+ Add Member” to add a new member.

4. Accessing the Price List Tab:
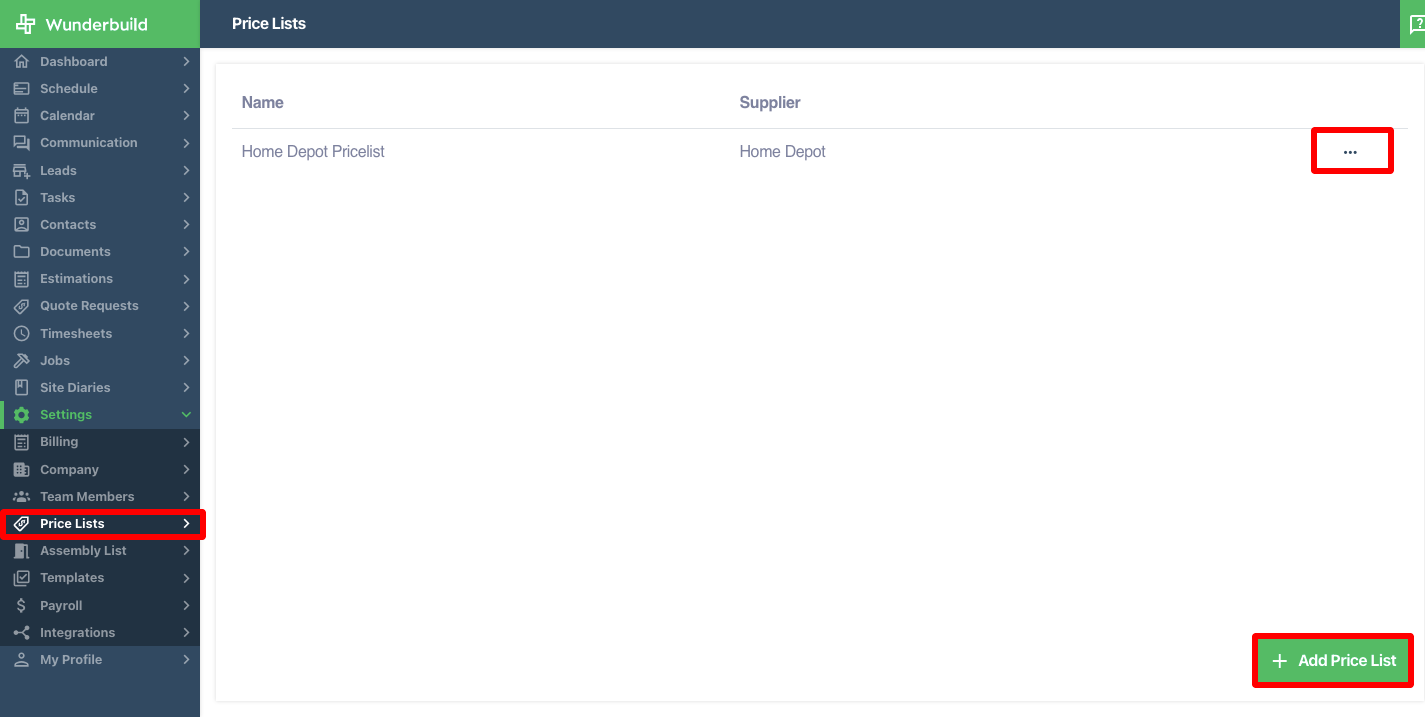
Navigate to the Price List tab by clicking on Price List in the Settings subtab.
- Creating a new price list: Click add “+ Add Price List”. Enter the name and supplier and click create.
- Deleting a price list: Click on the three dots beside the price list and click on Delete.
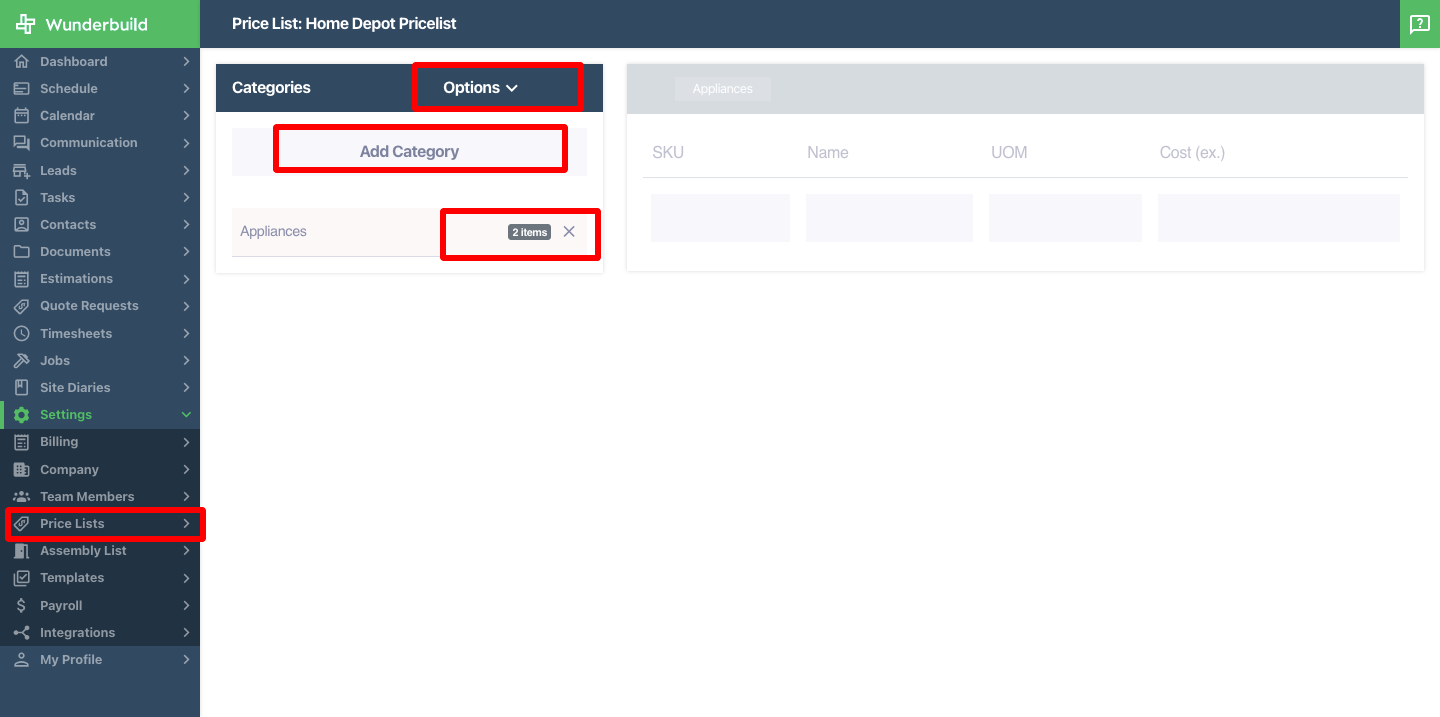
- Editing a price list:
a) Click Option dropdown to:
- Upload a price list from a spreadsheet to Wunderbuild.
- Download the current price list into a spreadsheet.
- Click “Print” to print the current price list.
- Click “Adjust Prices” to adjust the current prices.
b) Add a new price list category manually:
- Click on Manual Entry or Upload price list if you want to import from a spreadsheet.
- Create a category name, add items, and click on “Create”
c) Delete a category from the price list:
- Click on the X button beside the category to delete it.
5. Accessing the Assembly List Tab:
Navigate to the Assembly List tab by clicking on Assembly List in the Settings subtab.
A) Modifying an Assembly list item. Click on the three dots beside the assembly list to:
- Edit: Edit the assembly list for this item.
- Clone: Create a new copy of the assembly list.
- Delete: Delete the assembly list.
B) Add a new assembly list:
- Click on the “+ Add Assembly”.
- Create a name and pick a unit of measurement (lm,sqm,qty).
- Add the items needed to assemble the specific item.
- Click “Create”.

6. Accessing the Integrations Tab:
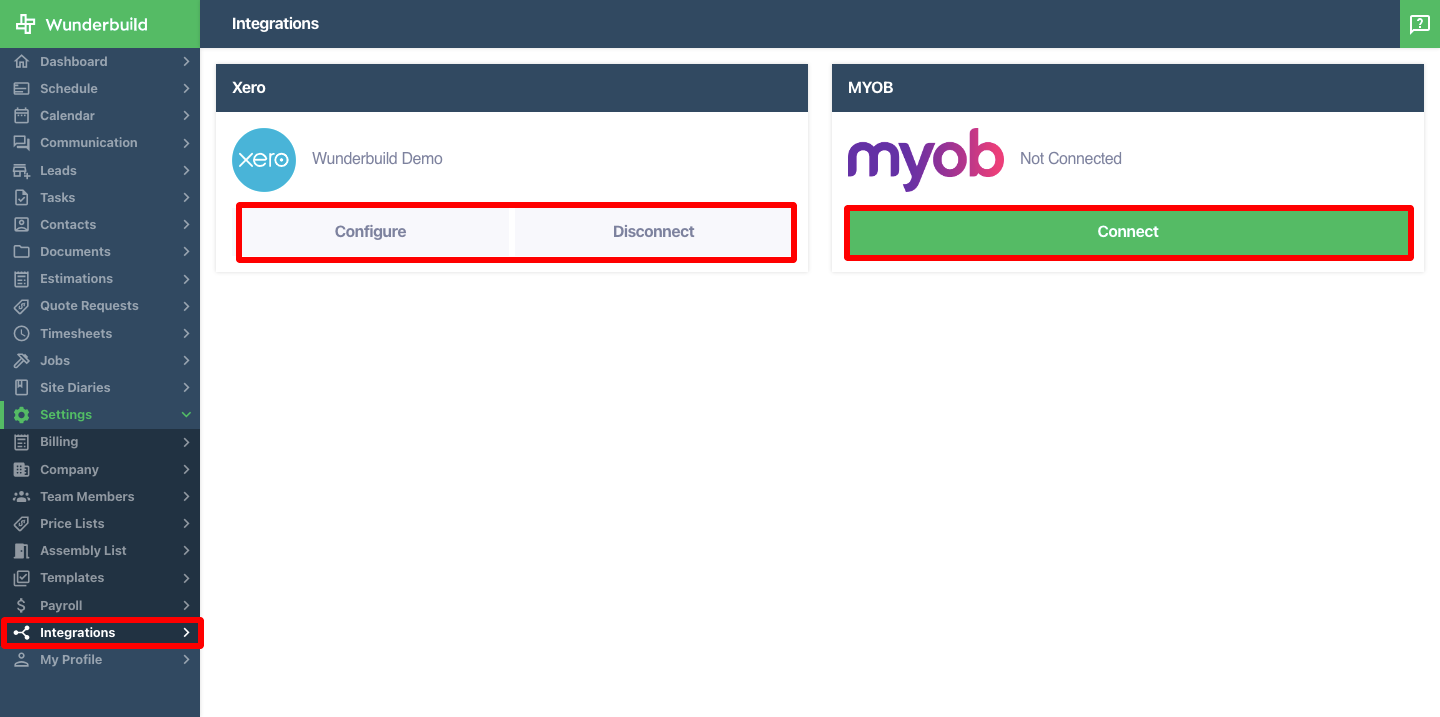
Navigate to the Integrations tab by clicking on Integrations in the Settings subtab.
A) Click on Connect on either Xero or MYOB to connect Wunderbuild to your accounting software:
- Once you click on Connect you will be redirected to the Xero or MYOB login page.
- Once you have logged in you may configure your setting by clicking on “Configure”.
- Click “Disconnect” to disconnect your Xero or MYOB account with Wunderbuild.
Related Articles
Wunderbuild Job Schedule 2.0 User Guide
Importing The following is a guide on the updated Wunderbuild job schedule. To begin go to your jobs then schedule section inside your job. 1. Click ‘options’ on your schedule to import your schedule into Wunderbuild. Below are instructions on the ...Xero Integration Guide
In Wunderbuild, utilise our Xero integration to sync progress claims on work completed and purchase orders made to suppliers as bills to pay and invoices in Xero. The following is a guide on connecting to Xero and having your data seamlessly ...Tasks User Guide
1. Accessing the Tasks: Navigate the Tasks section within the main menu to gain an overview of all tasks across your various job assignments. 2. Search/Filtering the Tasks: a) Search a task by using the search bar on the top right corner of the ...Dashboard User Guide
1. Accessing the Dashboard: Navigate to the Dashboard tab on the main menu to view the dashboard. 2. Understanding the dashboard. There are four section in the dashboard: a) Estimation In Progress - Quick links to quickly navigate through your ...Communications User Guide
1. Accessing the Messages: Navigate to the Communication tab on the main menu to view the messages/chat. 2. Understanding the communication tab: There is a dedicated messaging section inside a job while in this tab you may monitor the chats in all of ...